GitHub Pages — A Comprehensive guide w/ images (Part 1)

Recently I started building my personal website as everyone is building for themselves these days. I got a cool TLD (.xyz), and that is the only money I wanted to spend. Since then I’ve been looking for ways to host it without any costs.
I’ve tried different host providers such as Heroku, 000webhost so far, which are good options. My website is vastly static pages so far until I figure out how to have a cms such as Ghost to be integrated with Gatsby for adding content periodically (Of course for free). Anyways I thought if my site is mostly static pages so why not give Github Pages a try (it’s been on my list for a quite sometime now) and along the way I encountered various hurdles and there wasn’t an elaborate article around it. So folks here we are :)
This is part 1 of this article series, part 2 can be found here. Enchanté.
Setting up Github Pages:
This is the most straight forward thing, it’s all neatly illustrated here on Github Pages, but as this article‘s name suggests I’m bound:
We’ll start by creating a repository on Github:
- Goto Github.new, a cooler way to create Github repositories (You’ll see).
Make sure your repo-name is .github.io The pages ending with .github.io are called User Pages, where could belong to an individual or an organization
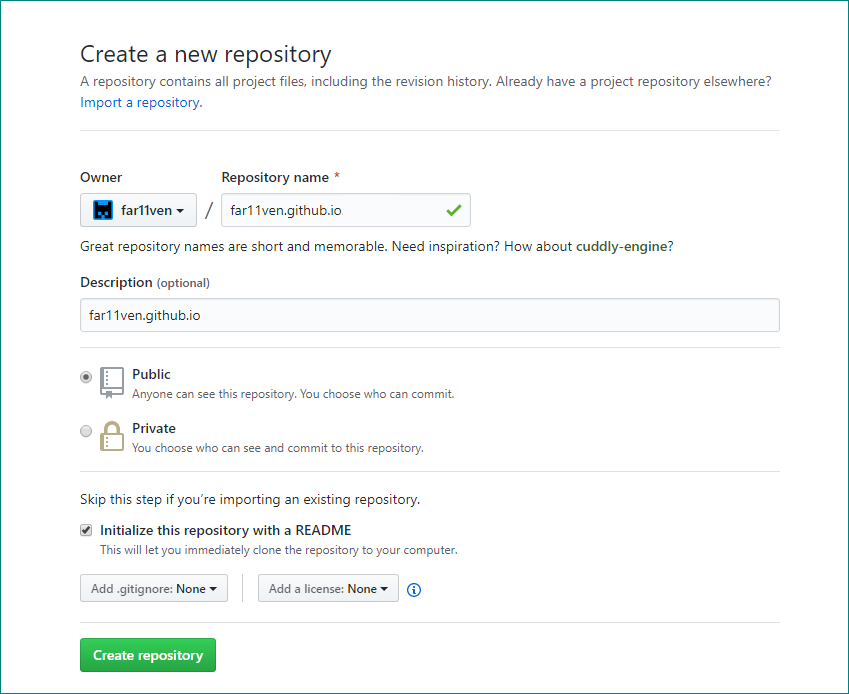
Note: It is important to make your repository Public, in order for your GitHub User pages to be accessible to all
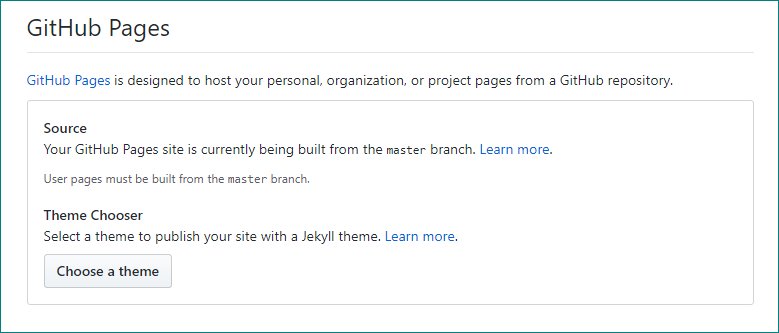
We won’t be creating any other branch, because User Pages require to be built from master branch. And in this article, we won’t use Jekyll to publish our pages.
- First clone the repo to local machine: Here, <username> is GitHub username
~$ git clone https://github.com/username/username.github.io.git- Create an index.html file inside this repository:
~$ cd username.github.io
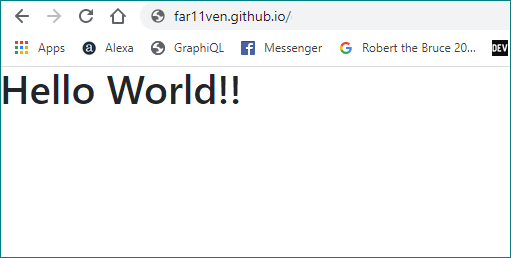
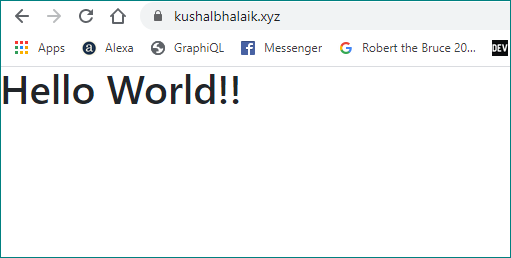
~$ echo “Hello World!!” > index.html- Add, commit and push your changes to Github remote:
~$ git add *

~$ git commit -m "Initial commit"

~$ git push -u origin master- Type {<username>.github.io } in browser and you’re done publishing your first website to github pages.
Setting up Github Pages on your custom-domain:
We have successfully created and deployed Github Pages. But I want users to visit my custom domain kushalbhalaik.xyz. Lets link’em up:
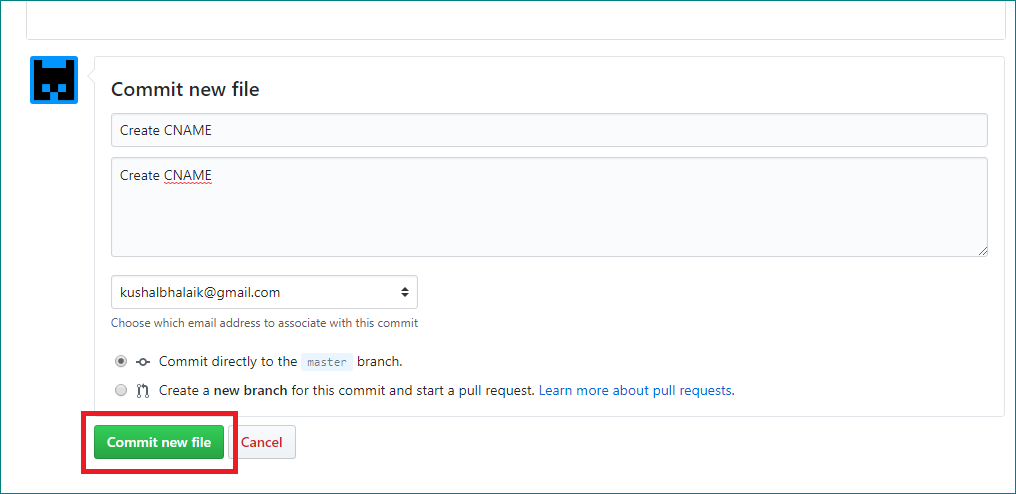
- Created a CNAME file in your repository: I will be doing it via GitHub UI, just create a CNAME file (with no extension) and just enter your domain name inside it, nothing else.
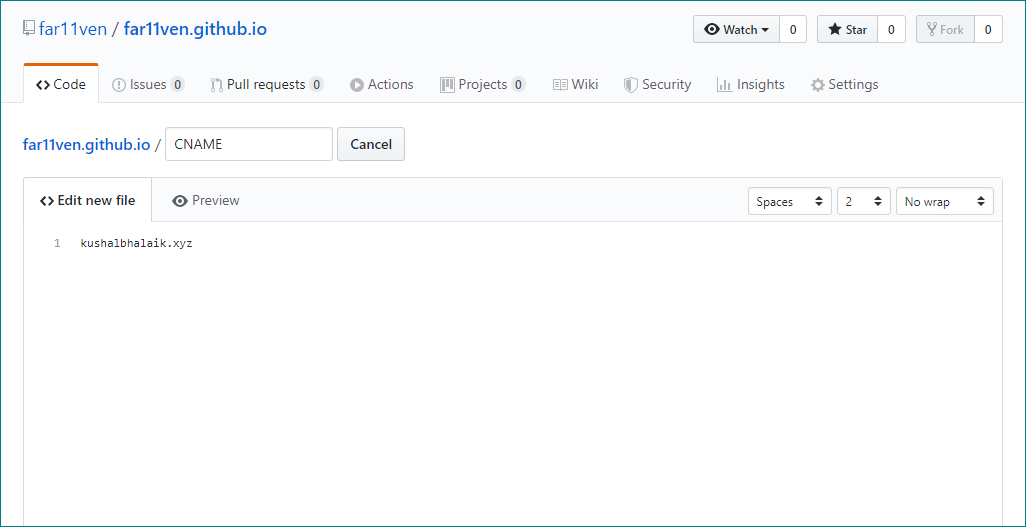
Once Done, commit your changes.
- Change DNS records on your DNS provider: We need to change existing CNAME records to point to created github pages i.e. <username>.github.io

Important Points:
- At this point, nothing needs to be done from our end, we need to wait for changes to reflect on both GitHub and Cloudflare end, Which may take some time (usually its prompt) but may take some time based on your DNS provider
- You won’t be able to access your pages via .github.io, in case you try and enter this in browser, you’ll be redirected to your custom domain
So this was all to get you started with your very own Github Pages (User). In Part 2 of this series we’ll be taking deeper look into gh-pages and linking pages to your sub-domain.
Part 2 is now available here. Happy Building!!
Original article on: https://blog.kushalbhalaik.xyz/github-pages-a-comprehensive-guide-w-images-part-1

![Running Cypress Tests in Parallel using GitHub Actions [shorts]](https://digitalpress.fra1.cdn.digitaloceanspaces.com/omtmgjm/2022/04/1_mrb7cH6xqCxSrTdDgZqkDQ.png)