Building a Test Automation Framework using Cypress.io — The Intro (Part 1)

नमस्ते!
This is a X-part series on how to build a Test Automation Framework using Cypress.io. (X because I'm not sure how many parts there will be right now, so buckle up!!). Let's get started!
Cypress.io (Cypress) - New Kid On the block?
Cypress io, inc was founded on 12/21/2015, so we can safely say it's been a while, or precisely 4 Years 10 Months & 20 days since its inception. Initially, it was made by developers for developers for writing integration tests and soon everyone embraced it. It has been distinguished from selenium in terms of Speed, reliability and ease of use. It's been a while when I first started using Cypress (at that time it was just for knowledge), and I've found working with Cypress very calming for some reasons, though it's relatively new compared to Selenium and has fewer resources available.
Here's an in-depth article about Selenium vs. Cypress.
So without any further ado, lets get into how to start building an Automation Framework with Cypress. (Oh Wait, did I mention it works atop Node.js, so before moving on to next section have Node.js ready)
Setting Up Cypress:
We will be using npm to install and maintain our dependencies, but feel free to use yarn as well.
Lets begin with creating a directory first,
mkdir Cypress-TestFramework && cd Cypress-TestFrameworkNow Initialize our project as a node.js project using:
npm init -y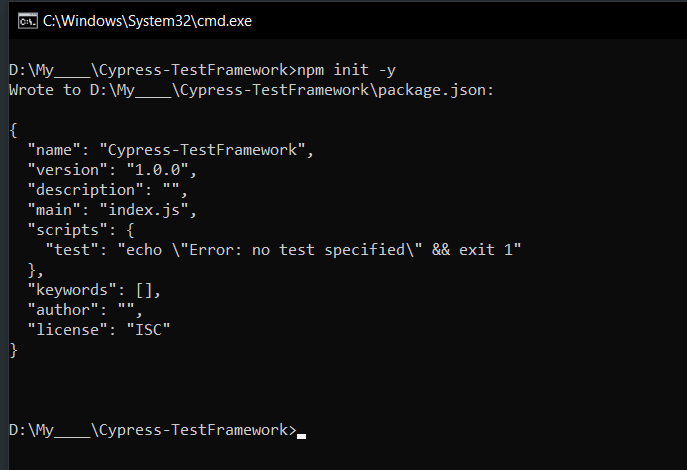
Now using npm install Cypress, (which will take a minute to download):
npm install cypress --save-dev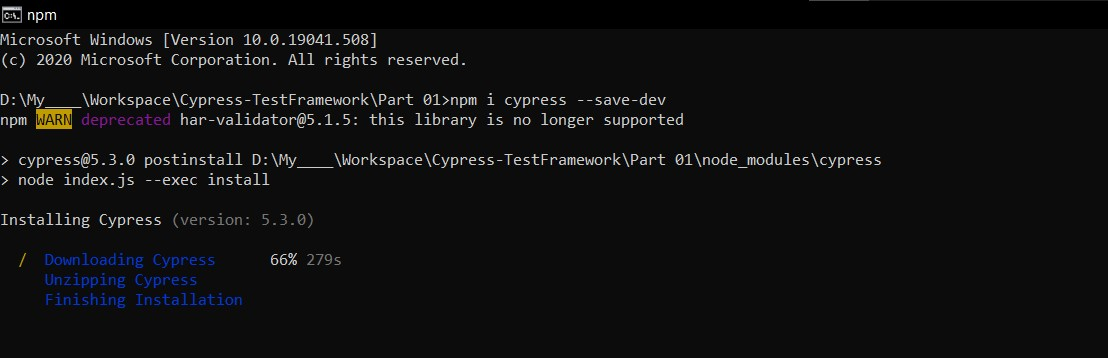
Now Open up the Cypress GUI, using following command
npx cypress open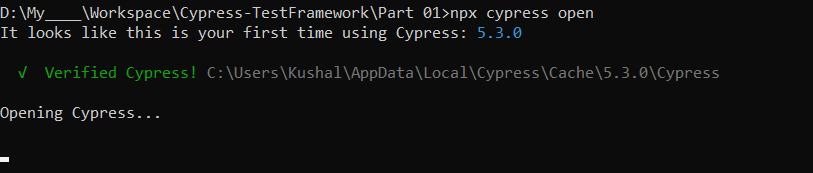
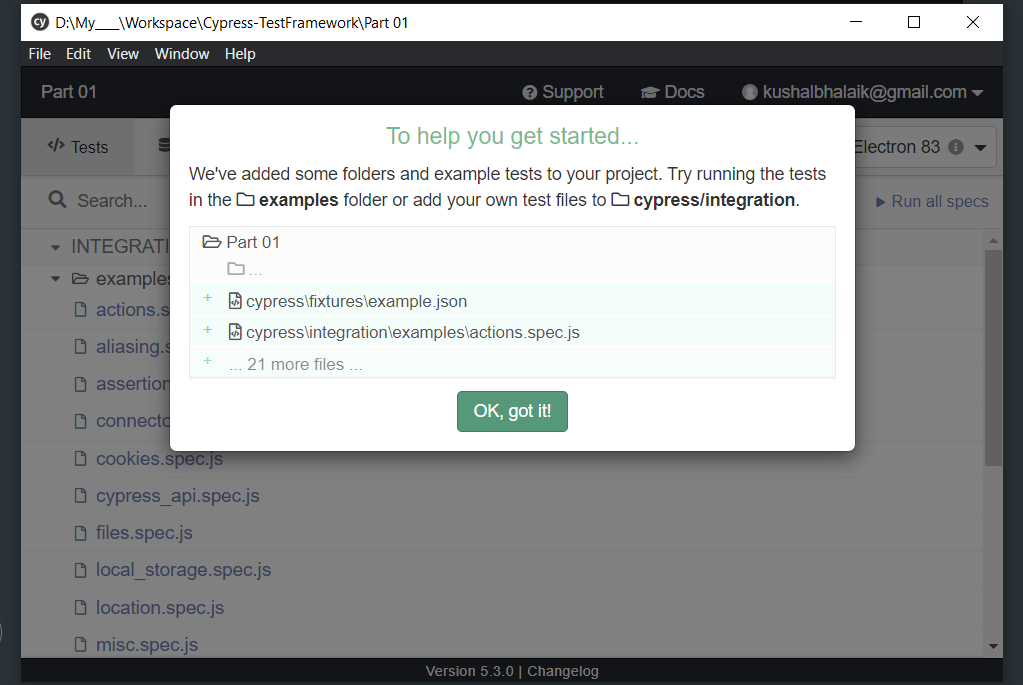
Now we don't want to do anything with the UI yet, we used npx cypress open command to initialize our cypress project.
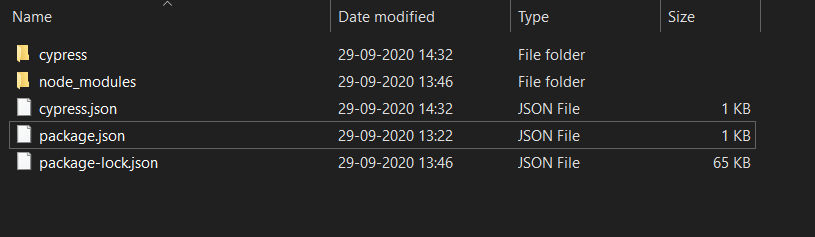
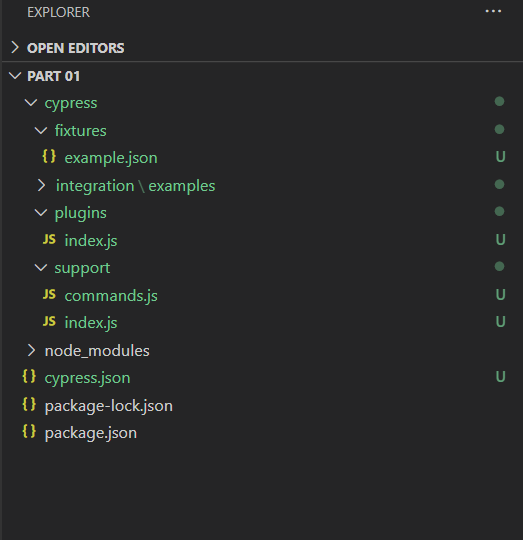
Our Cypress project is now created and we will open it up in Visual Studio Code:
Writing our first Test Case:
Cypress initialization will automatically provide a bunch of test cases for our disposal, but we will start from scratch; so delete integration/examples folder
Now, add a file name spec1.js under integration folder and add following statements to it:
describe('My First Test', function () {

  it('Navigates to google.com and verify title', function () {

    cy.visit('https://www.google.com');
    cy.title().should('eq', 'Google');
  })
})This sample test will let the user navigate to www.google.com and then will assert that Windows title matches with "Google".
Running our Test:
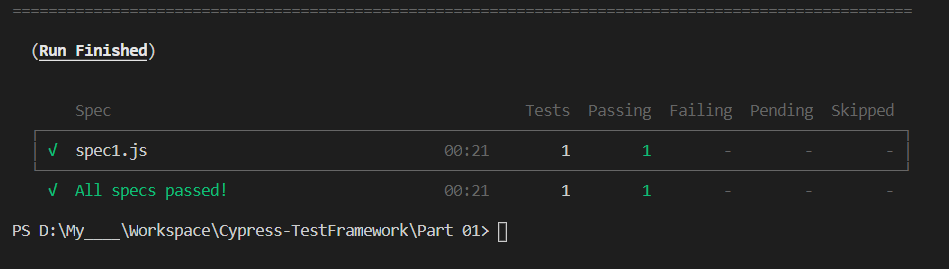
In order to run our test in a headless browser: Electron (Tests will run in background and we can't see anything happening) we will use following command:
npx cypress runand when the test completes, we will see following status in our terminal:
But if you want to see your test steps executing in a more visual way, you can use following command:
npx cypress run --browser chrome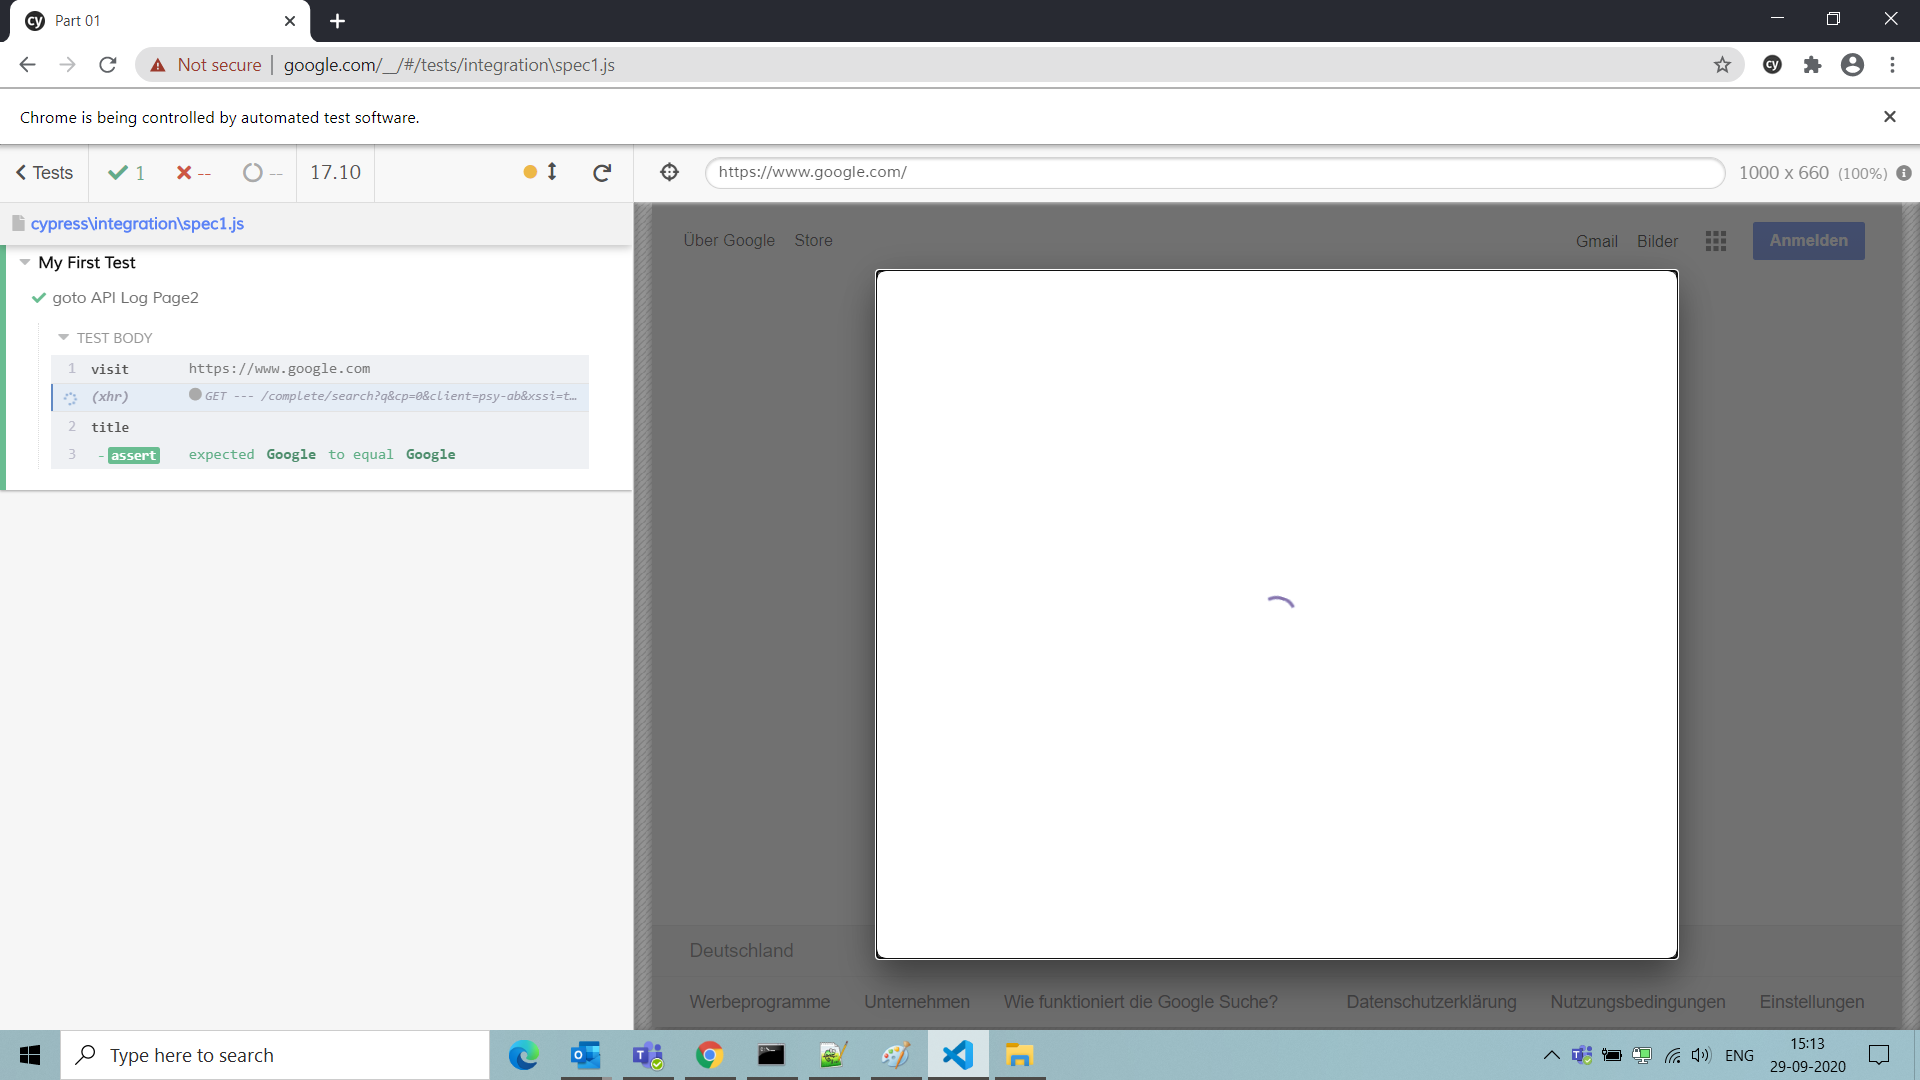
So that's it, we have written a test case and run it in a browser.
If you want to see the whole test run video; you can just navigate to following folder: cypress\videos\ and there you will find spec1.js.mp4, which will have complete test run execution recorded.
See you next time, when we will see adding some advance things to our Frameworks such as BDD, page object model and reports etc. So keep tuned in.
अलविदा!!
GitHub repo: https://github.com/far11ven/Cypress-TestFramework/tree/develop/Part 01

![Sanitizing ArrayBuffer response [shorts]](https://digitalpress.fra1.cdn.digitaloceanspaces.com/omtmgjm/2024/07/Screenshot-2024-07-02-145822-3.png)
![Cypress GitHub Teams Notification [shorts]](https://digitalpress.fra1.cdn.digitaloceanspaces.com/omtmgjm/2023/09/44036562.png)
![ChatGPT x Cypress.io API tests [shorts]](https://digitalpress.fra1.cdn.digitaloceanspaces.com/omtmgjm/2023/02/cypress-chatgpt.png)